Before You List:
Real Estate Photographer's
Living Room Staging Guide
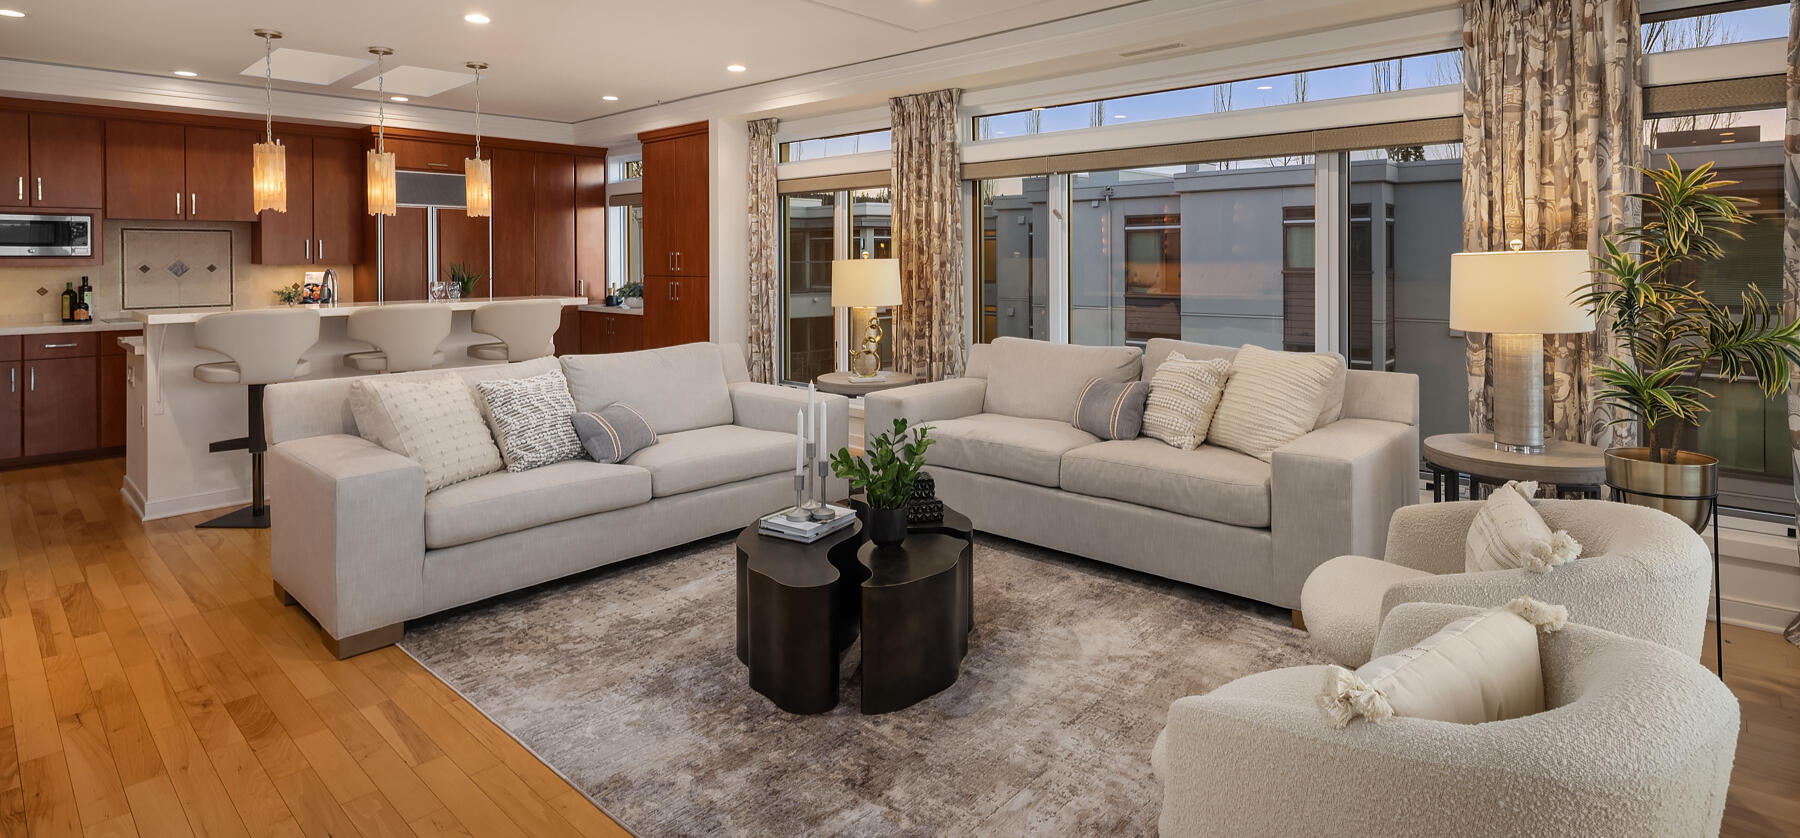
The living room is the most photographed room in any listing — and the one buyers spend the most time imagining themselves in. A well-staged living room creates an emotional connection that influences offers — and the products that make each one easier.
As an Amazon Associate, I earn from qualifying purchases. Some links on this page are affiliate links — if you purchase through them, I may earn a small commission at no extra cost to you. This helps support the creation of free home-preparation resources for sellers.
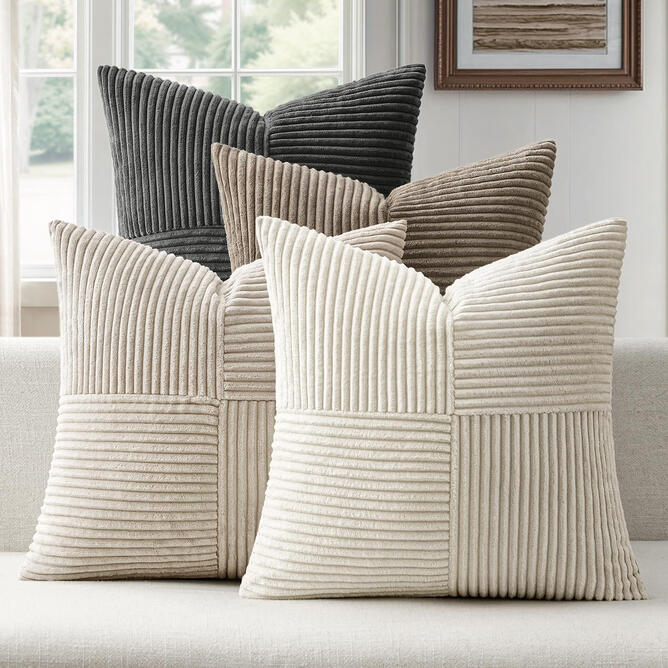
Step 1 — Replace Personal Throw Pillows With Neutral Ones
Personal or patterned throw pillows make buyers focus on the pillows, not the room. A set of coordinated neutral pillows instantly makes the living room look more styled.Why it matters: The sofa is in the frame of most living room photos. What's on it determines whether buyers see a room or someone else's taste. Neutral pillows make it the former.
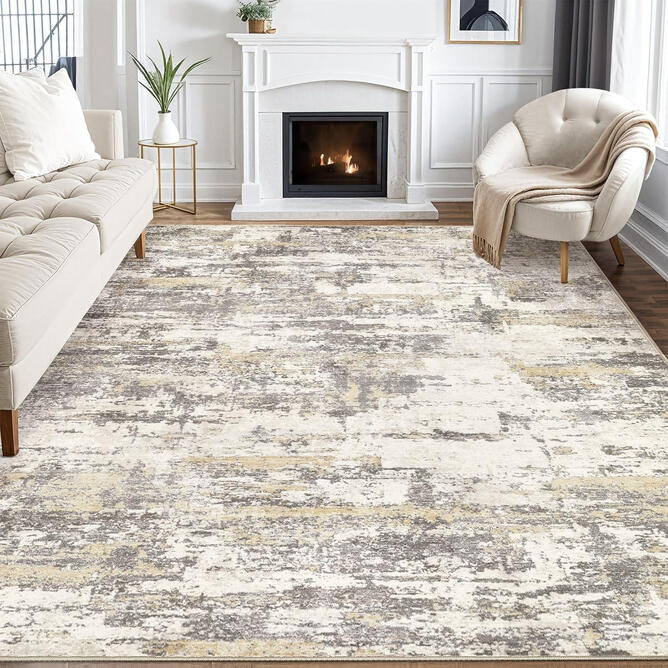
Step 2 — Anchor the Seating Area With a Rug
A living room without an area rug often photographs as a collection of furniture in an empty space. A rug anchors the seating area and makes the space feel intentional and finished.Why it matters: Buyers looking at living room photos respond to rooms that look designed, not assembled. An area rug is one of the most effective single items for creating that sense of intentional design.
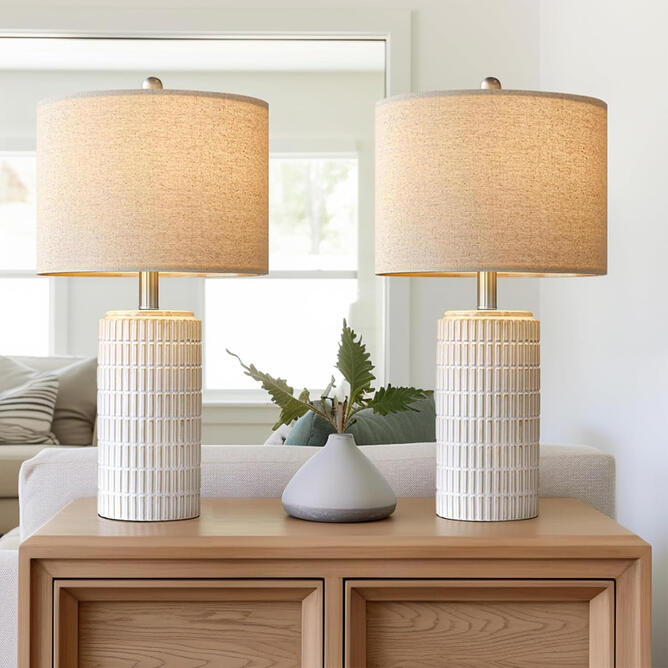
Step 3 — Add Lamps for Warmth and Dimension
Overhead lighting alone makes living rooms look flat in listing photos. Table lamps on side tables add warmth, symmetry, and dimension.Why it matters: A living room lit only from above photographs as a functional space. The same room with lamps photographs as an inviting one. Buyers respond to the second version.
Step 4 — Style the Coffee Table
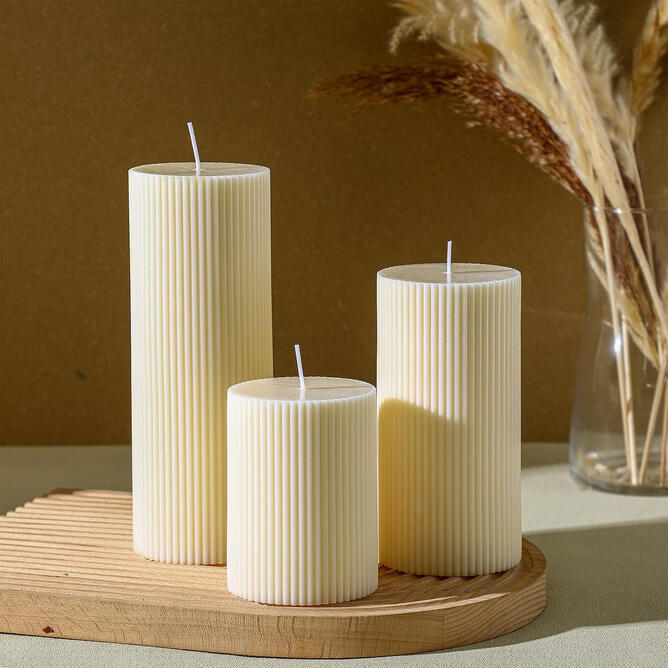
An unstyled coffee table — or one covered with remote controls and magazines — is one of the most common living room staging gaps.Why it matters: Photographers always shoot toward the coffee table. What's on it is in every frame. A styled surface elevates the entire room in listing photos.
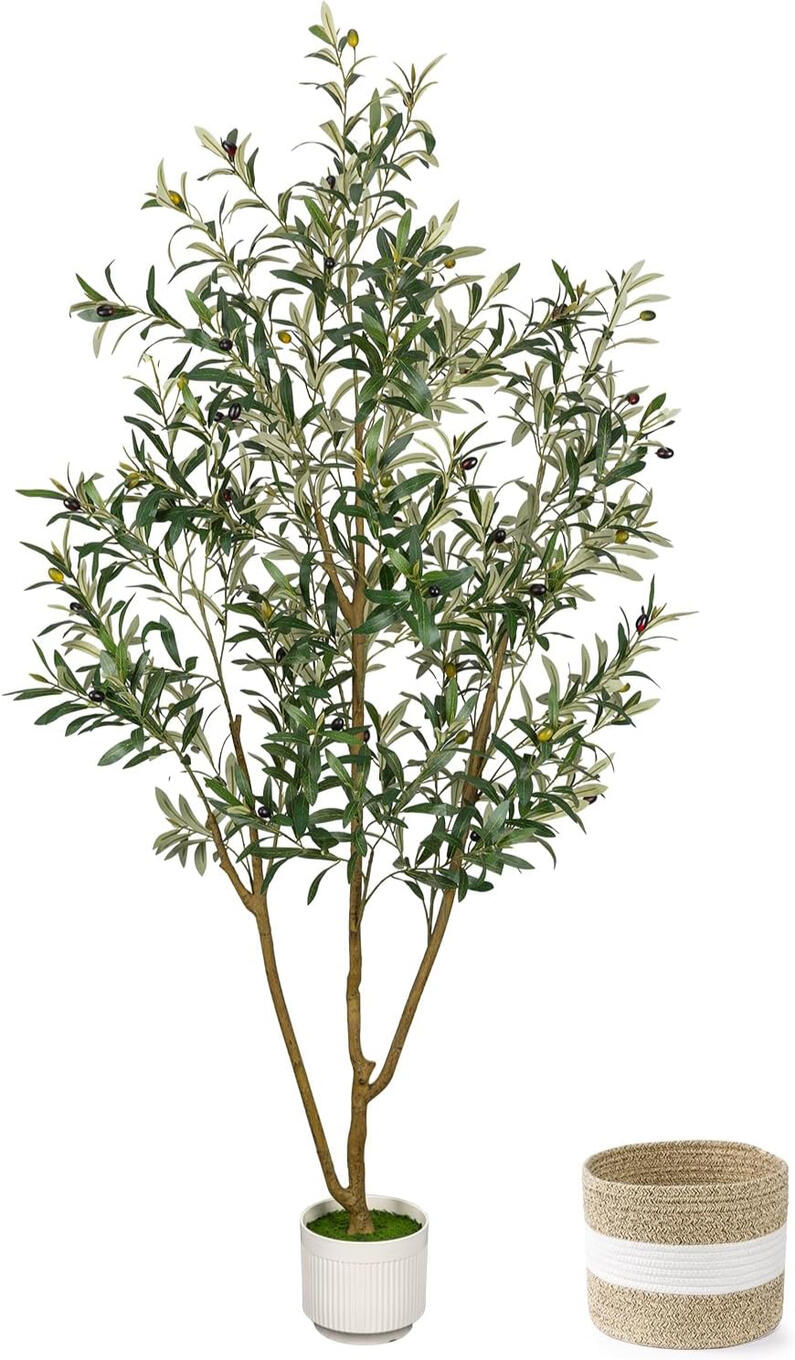
Step 5 — Add a Large Plant for Scale and Warmth
A large plant in a corner adds something that furniture and décor can't: life. It fills negative space, adds scale, and makes the living room feel more like a home.Why it matters: Empty corners photograph as 'this room feels sparse.' A plant in the corner photographs as 'this room has been thought about.'
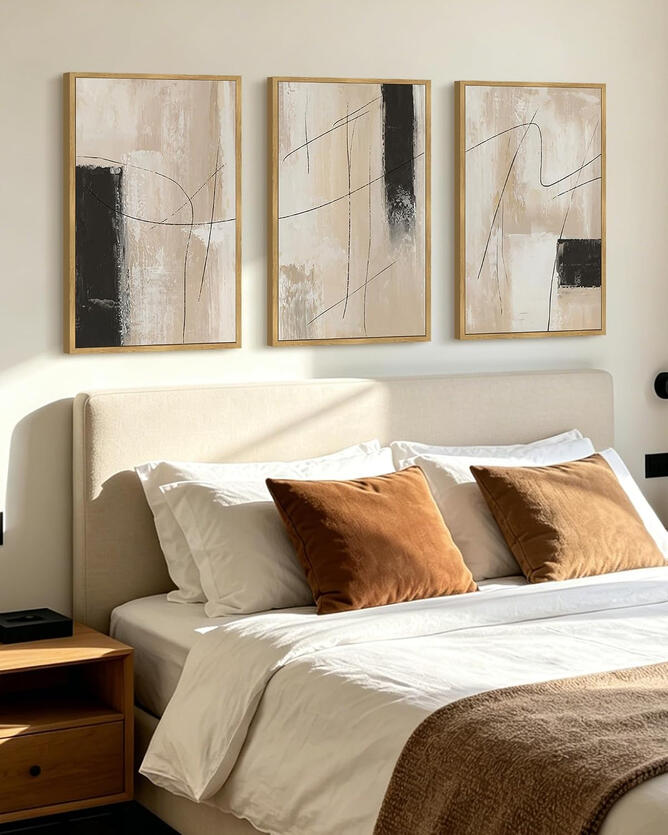
Step 6 — Add a Single Piece of Wall Art
A blank wall above the sofa is one of the most common living room staging gaps. A single piece of simple, neutral art anchors the sofa arrangement and makes the room look finished.Why it matters: Buyers see blank walls as empty potential — which means work to do. A piece of art makes the wall feel complete, which means less mental work for the buyer.
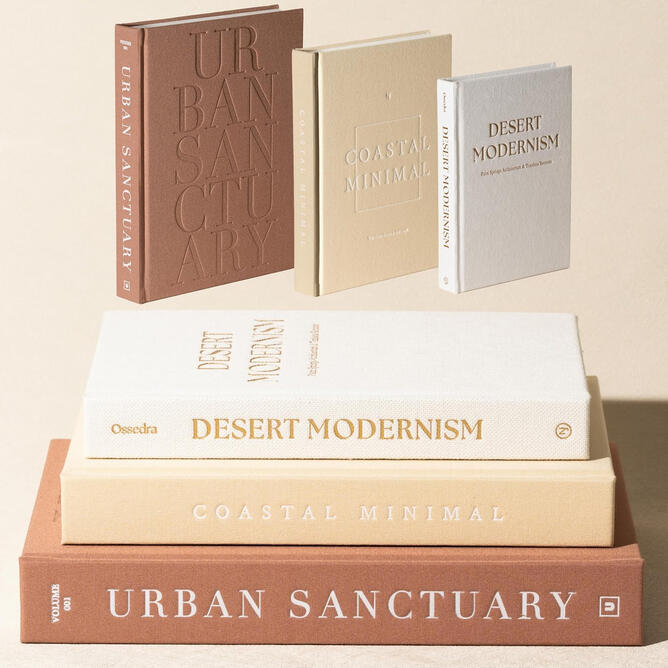
Step 7 — Add Coffee Table Books as a Finishing Detail
A small stack of neutral, attractive coffee table books is one of the most effective finishing details in a styled living room. Specific, intentional, and curated.Why it matters: Coffee table books tell buyers this is a home where people live well. That's a feeling, not a fact — and feelings drive real estate decisions more than facts do.
You May Also Like
• Bedroom Staging Tips for Listing Photos
• Entryway Staging Guide for Listing Photos
• How to Make Your Home Smell Good Before Listing
More Guides for Home Sellers
Before Listing
• Decluttering Guide
• Cheap Fixes Guide
• Kitchen Fixes Guide
• Bathroom Fixes Guide
• Living Room Staging Tips
• Home Office Staging Tips
• Curb Appeal Ideas
After Selling
• Moving Checklist After Selling
• Deep Clean Before Moving Out
• First Week in Your New Home